What Is MLS?
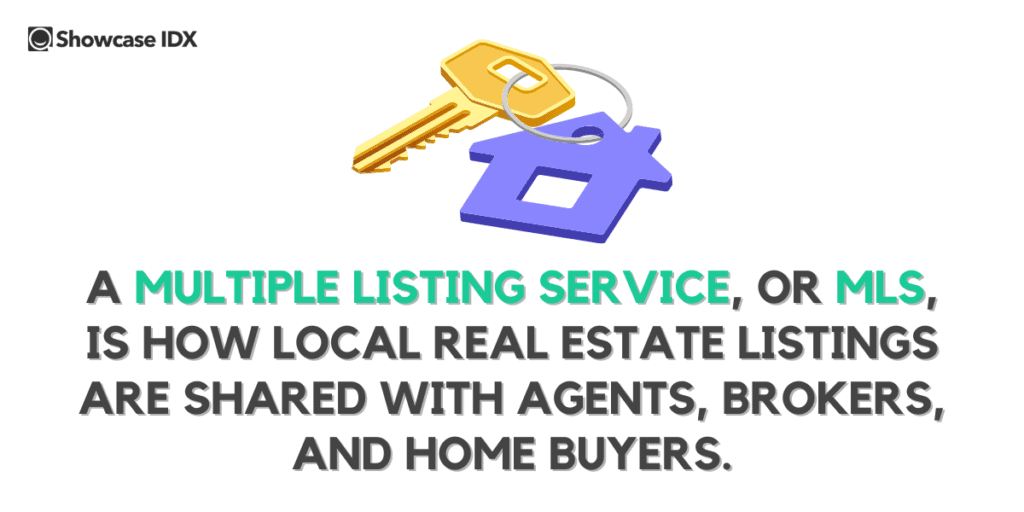
A multiple listing service, or MLS, is how local real estate listings are shared with agents, brokers, and home buyers. Every MLS provides service to a different area, whether it’s a single city like Dallas or multiple states like Bright MLS which covers Pennsylvania, Delaware, Virginia, Washington DC, Maryland, and New Jersey. Many MLSs have their own home search portal websites for home buyers to look through, with or without an agent.
However, as agents and brokers, when you join an MLS you have access to that area’s listings and the ability to share them with clients on your own website. The benefits of this are:
- You can gain an edge on websites like Zillow, Redfin, and Trulia by having up-to-date and accurate information directly on your real estate website.
- You gain credibility in the minds of your clients, leads, and Google, by being viewed as a hyperlocal expert.
- When the MLS listings are on your direct real estate website, you are more likely to gain and retain clientele.
It’s clear that having local real estate listings on your own website is beneficial, I might even say crucial, to your success as a real estate professional, but how do you get real estate listings onto your website?
Keep reading to learn exactly how to get your own site with local listings.
How To Integrate MLS Listings On Your Website
Get a WordPress Site
What you get out of your real estate website is equal to what you put into it, so for a thriving real estate business, sometimes a free web-building platform with limited features can only get you so far. WordPress is the best option for customizing your real estate website with blog posts, contact forms, client testimonials, and integrated IDX real estate listings. WordPress for real estate websites gives you, the agent and owner of your own individual business, direct access to analytics and opportunities to increase your presence on search engines like Google. While it may cost more and require a bit more effort on the front end, using a site like WordPress with an IDX integration can mean the difference between 10 site views a day and 1,000.
Use an IDX Solution
 The best way to integrate MLS listings onto your website is through an IDX technology that focuses on the home search for homebuyers, like Showcase IDX. IDX stands for Internet Data Exchange and refers to the software used to add MLS listings to personal websites. IDX connects your MLS with your WordPress website and integrates local listings onto your site, giving you power against the big-brand listing portals. For more in-depth information, our ultimate guide to IDX real estate highlights the history, benefits, and uses of IDX.
How To Get Your MLS Listings Through Showcase IDX.
Showcase IDX makes it simple to add MLS listings to your website, with only a few steps to work through before your website is known as the top authority for real estate in your area. If you’re not quite ready to take the dive, Showcase IDX offers a free 10-day trial for you to test out the IDX plugin on your real estate site and see the difference.
Your free trial begins as soon as we get approval back from your MLS (which will be after completing the required Showcase IDX Terms of Service and your IDX data access agreement).Showcase IDX is the ONLY IDX vendor that allows you to test its solution on your own website with your live MLS data.
Once approved, the team will send you an email with your login information and everything else you need to get started! As the MLS approval is needed, it will take a few business days before you receive this login information (see step 3 below for more details on that timeline).
What if My MLS Hasn’t Been Approved?
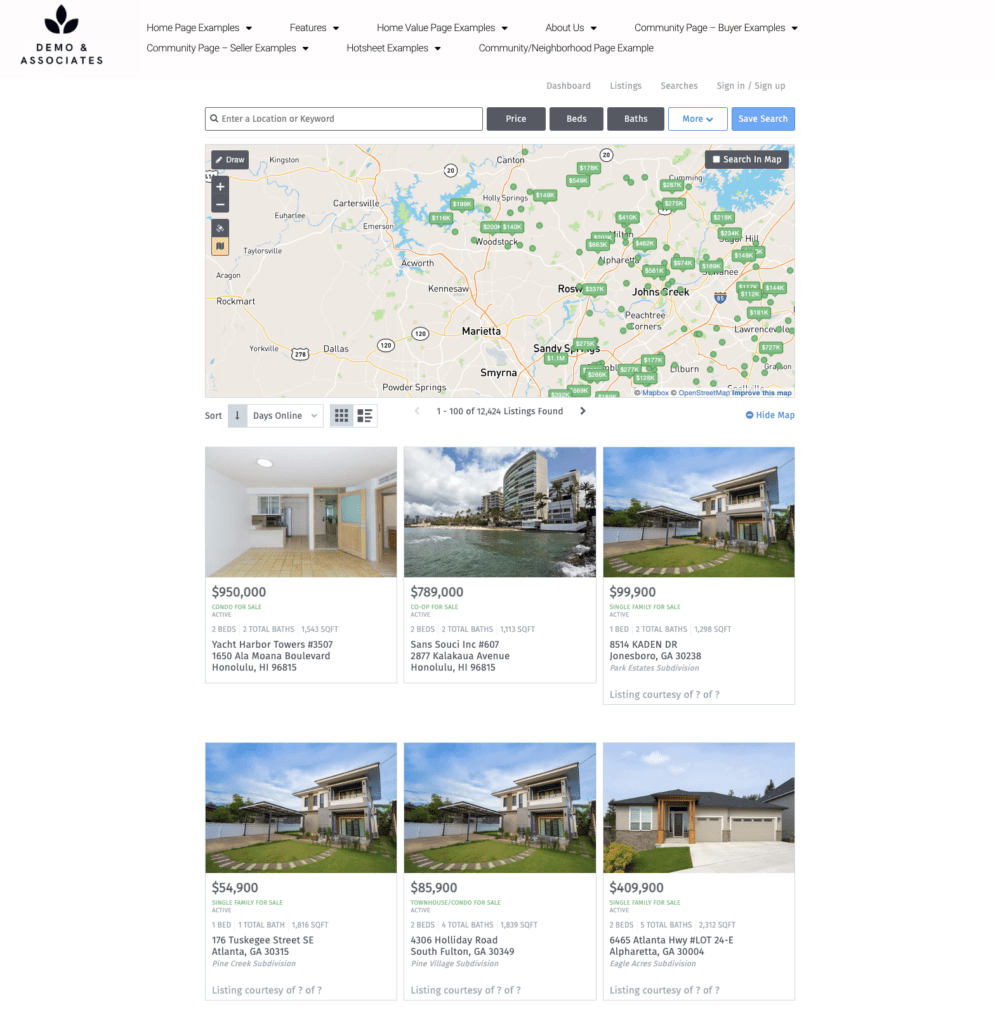
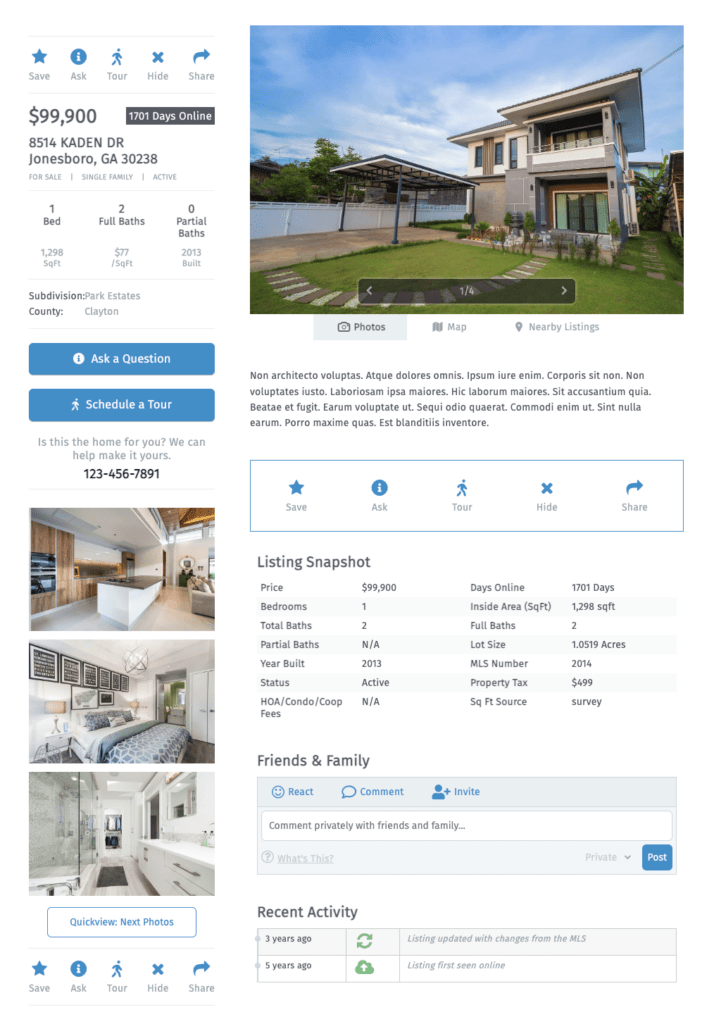
In some cases, your local MLS may not work with Showcase IDX, which means you may not be able to see how our plugin looks on your site yet. The good news is that we have created Demo & Associates, a demo website with Showcase IDX integration that shows how the features of Showcase IDX could look on your WordPress website. Not only does it show what listings look like (pictured below), but you can also see multiple examples of home pages, community pages (hotsheets) with different listing options, home value pages, and the various features of Showcase IDX (like friends & family search).
The steps for signing up for your free trial are as follows:
Step 1. Complete Sign Up Form
The first step to integrating MLS listings on your website is filling out our sign-up form. You’ll need to fill in your agent information, developer information (if you have one), and which MLS* you need.
*If your MLS is not currently available, please finish completing the sign up form so we can automatically notify you when we do have the coverage. We are actively working on expanding our coverage but unfortunately, we’re not able to add a requested MLS at this time. Here is our coverage page to confirm your MLS is covered.
Depending on what your MLS requires to activate your individual feed, you may need to fill out your Broker’s information (name and email) during the feed activation process as well. Your broker information may be required to prepare the MLS IDX Agreement for the IDX display approval. If you are the broker, simply input your information again on this page.
Step 2. Required Signatures
Once you have input your personal and broker information, you’ll receive the necessary paperwork to fill out in order to be approved by both your MLS and the IDX. The HelloSign document will be the first document you and your broker (if applicable) will have to sign. Depending on your MLS, there may be an additional document that requires signature. The MLS paperwork must be signed electronically via HelloSign*, we will not accept downloaded PDFs.
*HelloSign, owned by DropBox, is a similar program to RightSignature and DocuSign. As part of the onboarding process, every customer will be required to sign at least one document through HelloSign.
Tip
The paperwork will be sent to your email from noreply@hellosign.com and a reminder email will be sent after 3 days and 7 days. However, make sure to sign the document as soon as possible; otherwise, you will delay the beginning of your trial
What Documents Need to be Signed?
You (and possibly your broker) will need to sign one or all of the following items:
- Instructions Page
- IDX Authorization form from the MLS
- Cover Page to input additional information for Additional Portal process
- Showcase IDX Terms of Service
How Do I Know a Document Will be Sent to Me?
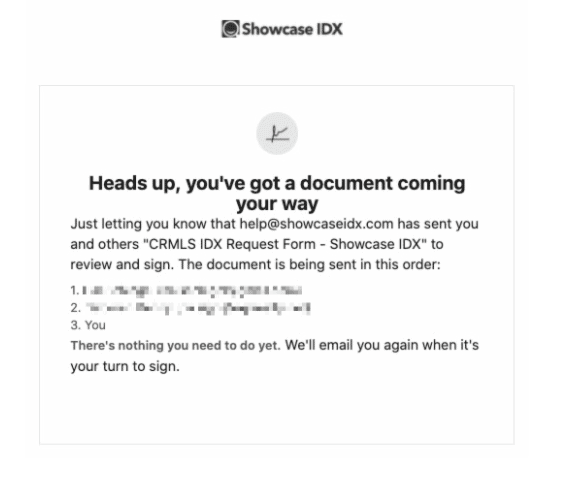
When you sign up for a Showcase IDX free trial, you’ll get an email from HelloSign with the signable document specific to your MLS. If more than one person is required to sign the paperwork, HelloSign will send a heads-up to each signer that they have paperwork coming soon. The email will look like this:
Who Signs and When?
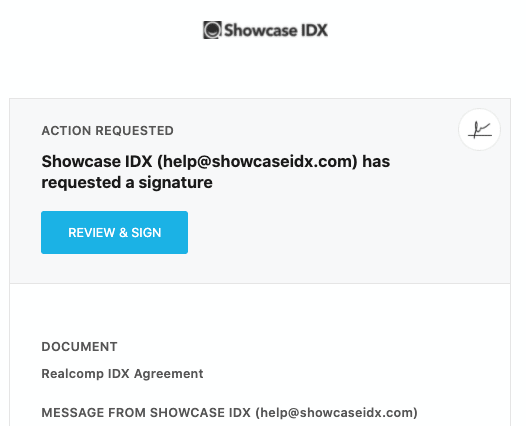
- Agent – As an agent, you will receive an email with a call to action inside that will load the MLS/IDX agreement in a new screen. This will likely look like a blue “review & sign” button (as illustrated below), and you will need to fill out all the required information on the document and sign at the bottom.
- Broker – Next, the broker will receive a similar email and be prompted to complete their part of the paperwork, and submit their signature.
- Additional Steps – In some cases, the HelloSign document contains additional instructions for the agent to complete. The documents should each be read carefully and signed promptly to avoid onboarding delays.
Everyone Has Signed, Now What?
Showcase IDX Onboarding will receive your paperwork and finalize it. From there, Showcase Onboarding will take the reins and work with your MLS to complete the rest of the process. Learn more about the different MLS categories and the estimated time for approval here.
I’m an Existing Customer Do I Need to Sign?
If you already use Showcase IDX and would like to add an additional data feed or website to your account, we may need to follow MLS direction in how to proceed. The Showcase Customer Success person you’ve been working with to add your new site or MLS feed will help determine your next steps.
Step 3. Timeline to Get Started
Once you and your broker have done your part, it is now up to our experts at Showcase IDX and your MLS to approve the paperwork. Every MLS has a different timeline for approving your paperwork depending on how quickly you sign your documents and other factors. Some MLSs may not even require approval and you’ll be starting your trial the same day; others can take 2-3 weeks to approve the paperwork. The following shows how long your specific MLS can take for approval.
MLS Approval Timeline
Step 4. Receiving Your Login Info
Once your MLS gives us their approval, we will send you an email with the subject line “Getting Started with Showcase IDX”. This email will provide you with everything you need to install the plugin, and if you included your developers information when you signed up, we will CC them on this email. This point in the process is when your trial begins!
Features of Each Showcase IDX Plan
Showcase offers two plans: the Essentials and the Premium plan. When evaluating which plan is right for you, consider the following things:
- How many users will you have?
- Do you plan on integrating with a 3rd party CRM (like Follow Up Boss or Liondesk)?
- How much detail do you want your listings to have? Do you want every listing in the MLS to include Premium Content (e.g. Walk score for the neighborhood, Transit scores for the community, Bike scores showing the biking infrastructure, Links to nearby restaurants, grocery stores, Population insights: total population, median age, population density, etc., and more)?
- Do you want additional types of calls-to-action?
- How customizable do you want your website listings?
- Do you want to prioritize your SEO efforts?
Here are the features of each plan that Showcase IDX offers.
Note: If you are trying our product, you are trialing the Premium plan. When you’re ready to activate your own account, you will need to choose between the Essentials and Premium plan.
Essentials Plan Features
The highlights of our Essentials plan are listed below, but if you’d like to see the entire list comparing Essentials to Premium, you can find it here.
- Live MLS Data Feed, which updates within 15 minutes (because that’s what it’s all about!)
- Phone, Email, and Chat support: don’t worry, we’re here to help!
- SEO Optimization Tools
- Customizable Colors, Fonts, and Designs
- Left-side Map Display
Here’s what your website display looks like from your customer’s point of view with our Essentials plan:
Premium Plan Features with Premium Listing Content
The Premium plan provides everything the Essential plan does, as well as the following additional features:
- More free users (5, instead of 2 with Essentials)- users that can access admin.showcaseidx.com and potentially be included in the lead routing
- Exclude locations from the search – if you do not want specific locations to be searchable on your website, you can exclude them under Settings > Search, under Search Restrictions
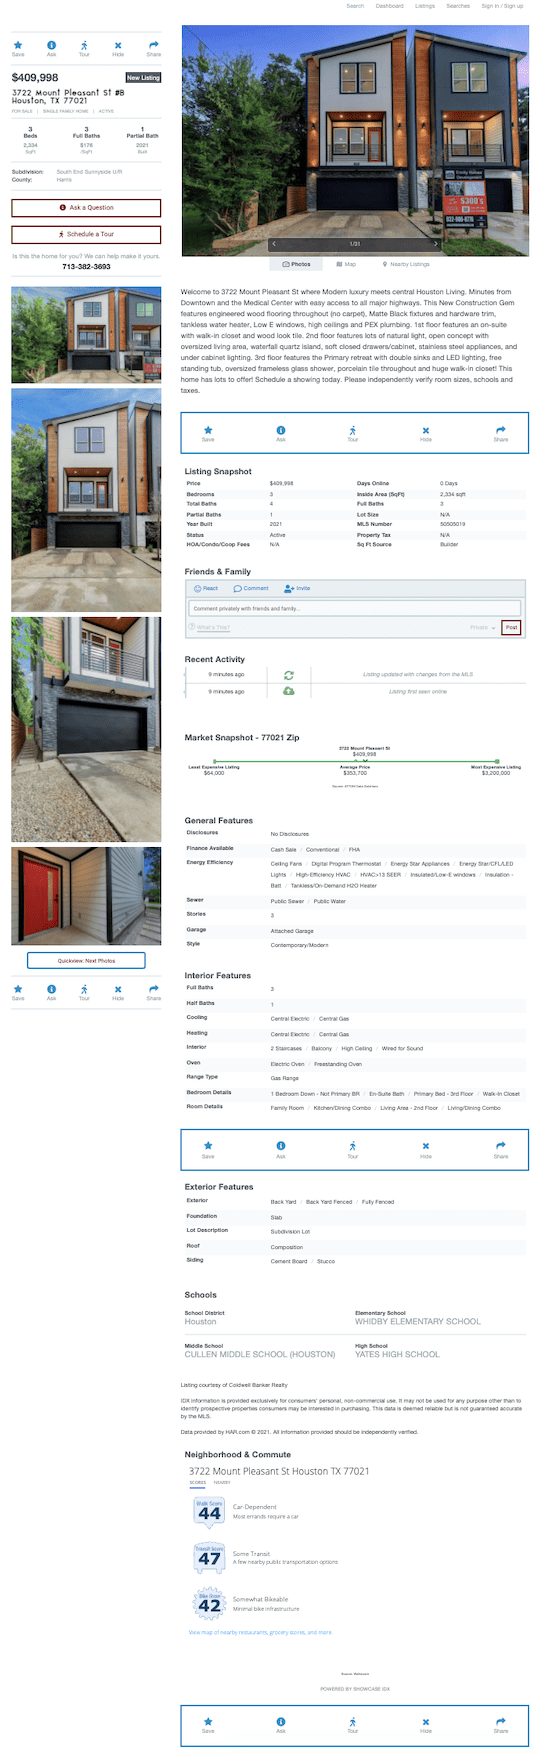
- Premium listing content – displays on the individual listing pages, includes demographic content based around the zipcode of the property (shown below)
- Premium listing content lock as well as search results lock (registration settings)- locks the premium content and requires users to sign up to see content
- Sign Up/Sign In form customization – customize the header and value text on the sign up form, as well as toggle on or off the social account options
- Hide the advanced search options ability – a setting to remove the advanced search on your website, found under Settings > Display
- Featuring your agent and office listings at the top of any search on your website – pushes the listings associated with your agent or office ID (which is associated with your user) to the top of any search a user does on the site, and hotsheets, and displays with a featured banner (Settings > Display)
- Round-robin lead routing settings (great for larger teams) – distribution of leads throughout the team roster/users
- Additional map styles to fit your theme – change the color/look of the map (Settings > display)
- Real-time integrations to 3rd party CRMs like Liondesk, Follow Up Boss, Slack Messaging – if you would like to connect our product to a 3rd party CRM for your leads to be routed to that CRM, you can do so here)
Here’s what your website display will look like from a customer point of view with our Premium plan:
Do My Listings Look Different Depending on the Plan?
Here’s a side-by-side comparison of what your listing detail page looks like depending on your plan.
How To Integrate Real Estate Listings on My Website
In our modern digital world, it’s crucial to have a real estate website that sets you apart from the rest and that your clients will actually want to use. With over 90% of home buyers starting their home search online, you not only need a website that people want to keep coming back to, but you also need a website with clear, accurate listing information. Showcase IDX can accomplish both of those things and so much more, so if you’re ready to take your real estate website to the next level, start your free trial now! Still need a customized WordPress site? Reach out to one of our certified website developers and they would love to help get you started.